Rochelle Hubbard
Supporting Women to Reclaim their Emotional, Financial, and Sexual Sovereignty
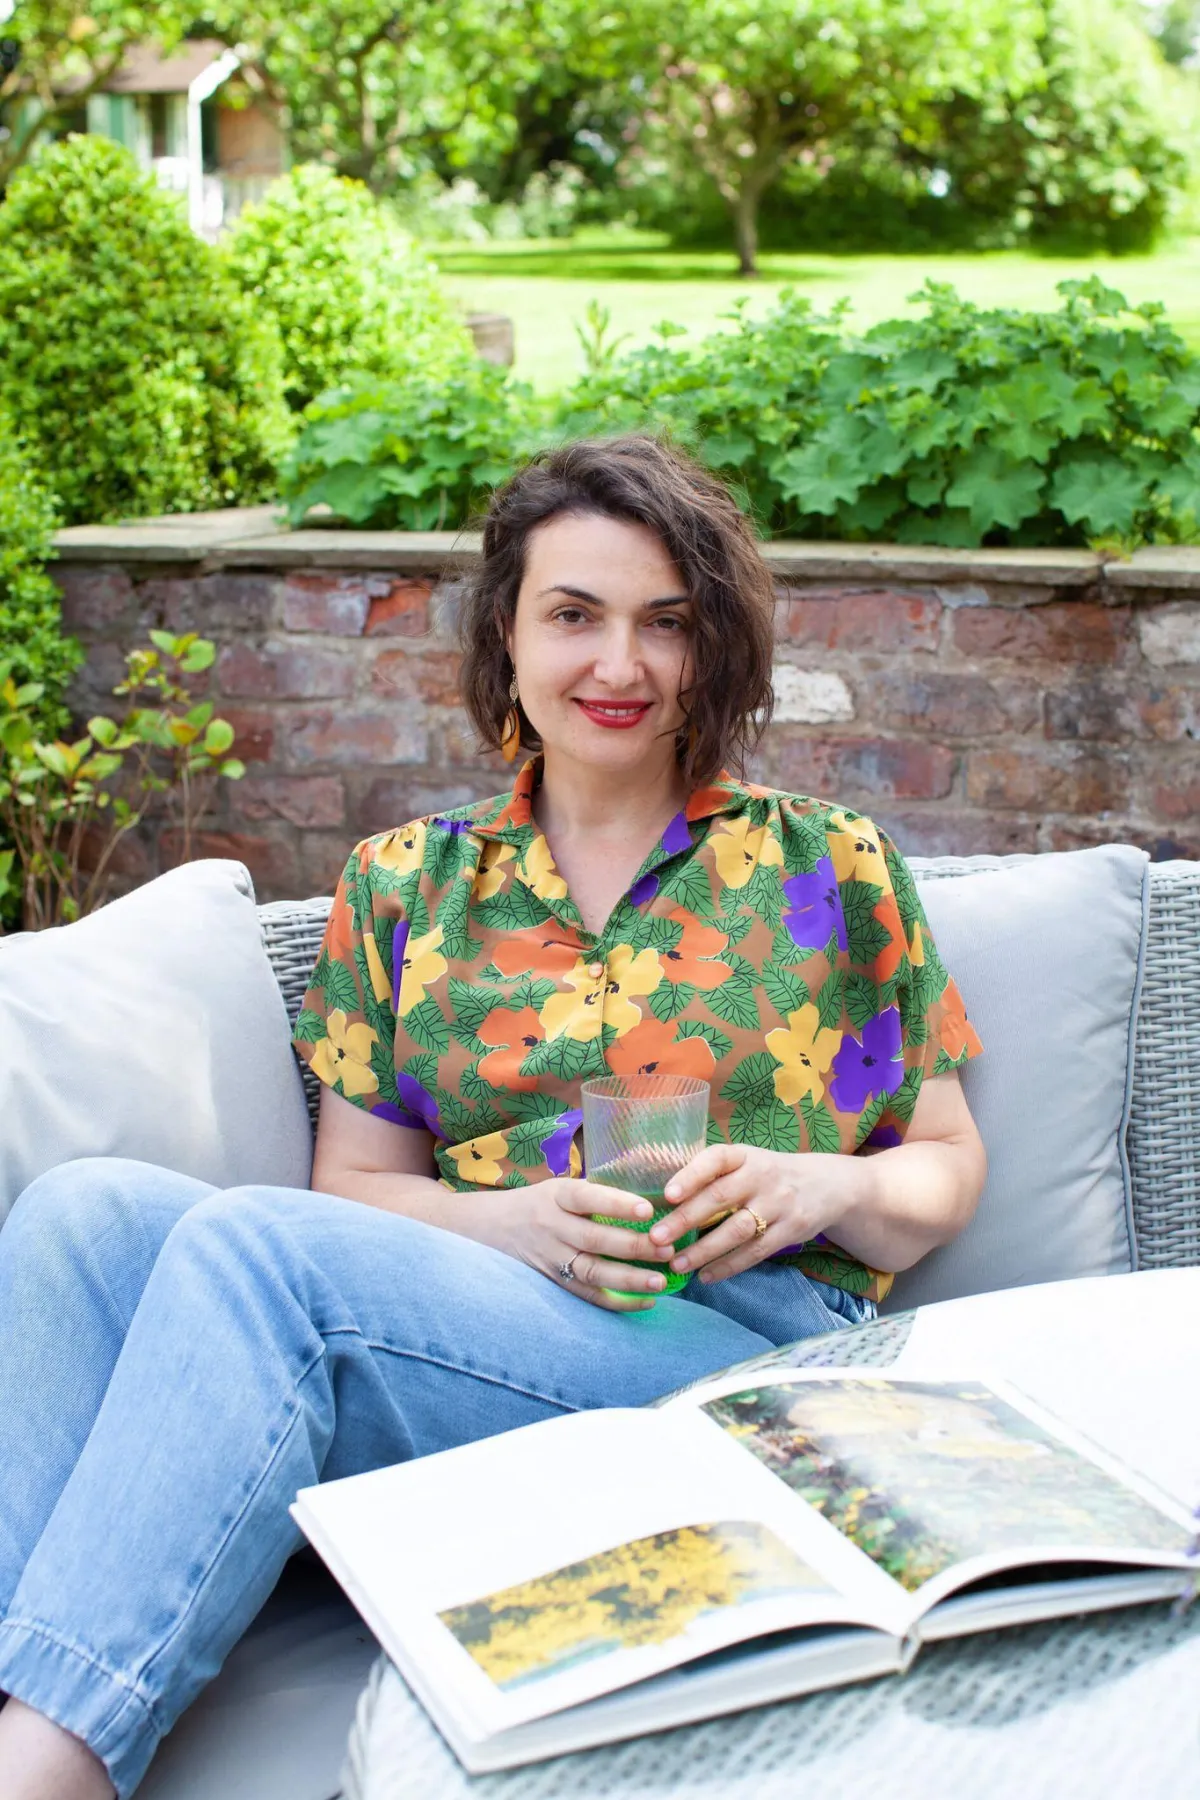
Nice to meet you
Hi, I'm Rochelle!

I believe women are the key to creating momentous changes for good in this world. Now, more than ever before, is the time for us to step forward and make that a reality. We must dig deep and do the work to uncover our wounds and lack of belief, and unbind ourselves from them.
My mission is to hold the space for women to do just that, through their own focused and intentional work, and through holding hands with other women, including myself, and healing together.
Ready to transform with me? Find out how you can work with me below.
What I Offer

I lead bespoke online programmes and workshops supported by tools and techniques to help women reconnect with and nourish their bodies and souls, to discover and believe in their worth, and reclaim their financial freedom.
By shedding old myths that have created low self belief and low self worth and moving forward, we can write meaningful new stories that manifest positive vibrations and attract abundance
into our lives.
From courses to rebalance your intimate relationships, to transformational colour analysis, you will find something here to support you as you shift your mindset and discover joy, connection and financial sovereignty.
My Programmes
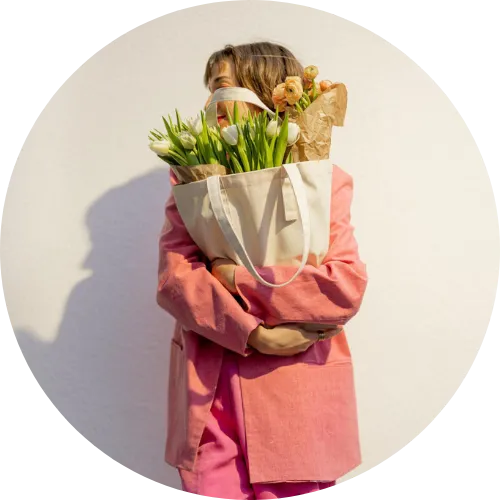
A Transformative Colour Analysis (In-Person & Online)
.........
Have you ever stood in front of your wardrobe, surrounded by clothes that just don’t resonate?
Imagine a world where every piece you wear, whether your comfy ‘knock about’ clothes or fancy dress up clothes, makes you look full of life, and feel it!
With my Colour Analysis service, you’ll embark on a journey to uncover the shades that empower you, elevate your style, and celebrate your uniqueness.
Most women hide away in dark colours, partly out of the desire to hide, but also largely because they just don’t know what makes them shine.
After just an hour and a half this can all change, and life will never be the same again.
Together, we’ll explore the colours that truly make you glow on the outside, and in turn make you more confident on the inside.
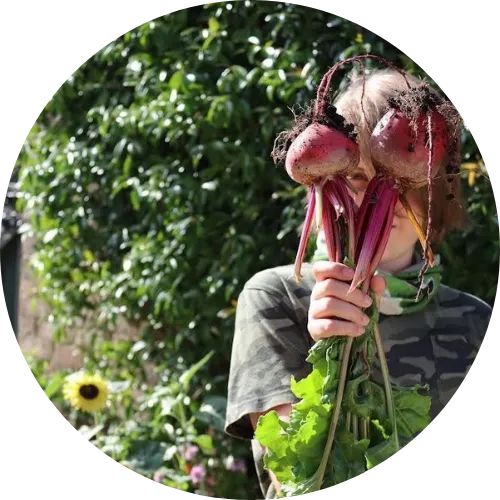
An E-Guide Supporting You Through 12 Months of Growing Your Own Kitchen Garden
.........
I have been growing my own food to some extent since 2010, and my passion for organic veggies goes back another decade beyond that.
Meeting organic farmers has always been a great joy for me. From what we take home to nourish our bodies with, right to the environmental, and even spiritual impact they are having in the world.
As 2020 hit and I experienced for the first time not being able to easily access the abundance of organic veggies I was used to, it hit me the importance of truly being able to grow what my family needed to thrive.
We took a week of work and, with our children who we homeschool, we completely transformed our very standard garden into the kitchen garden of my dreams.
Grow is the culmination (ever evolving) of this knowledge. 12 months of self-study and community.

A Community of Reconnecting to Your Feminine Essence
.........
Women today have grown up in a world that has modelled to them the need to control every aspect of our lives. As a result, we are left exhausted, and our relationships are out of balance and in turn dysfunctional.
On top of this, the feminist movement brought us the equal human rights we deserve, but it also left us feeling we needed to be ‘equal’ in every area of life to men.
We have lost our true essence. We have lost ourselves. And in turn our men have also lost their way.
When we step into rediscovering our feminine, and surrendering to her, and in turn to our masculine counterpart, then the true pairing of souls can occur.
I call you to take what I have learnt so far, and journey with me forward.
Sign up now for the free 5-day email series.
Why is now the right time for you to begin this work?
Many of us feel that there is huge and constant pressure to meet society’s expectations to look, behave and live in a way that conforms to ‘the norm’.
We live with anxiety, frustration, confusion, and a deep sadness, but often don’t know why and turn to unhealthy means to distract ourselves or treat the symptoms or completely ignore them.
I am here to listen, to help you to regain control and make positive changes, to learn, grow and live life to your true full potential.
Hear from me
Sunday Soul Review, My Weekly Email
On Sundays I send an email from my heart.
These are mainly written messages I have been guided to share for the week, that relate to my own growth journey, that I hope will be part of also supporting yours.
I love to record my thoughts on audio too, so often I also send a short audio to go along with the written words.
If you subscribe, you will also receive news of upcoming courses, live and online events I run.
I look forward to connecting with you in this space!
SoapBox, my Podcast
SoapBox was conceived as a space for people who have something to say—people who have strong beliefs, big ideas, and a story behind what they stand for. It’s a space for real conversations, for digging into the "why" behind what we believe, and for bringing those convictions to light.
SoapBox is a place to amplify those voices, celebrate resilience, and dive deep into the things that matter most.
Tune in now through your favorite platform below.